No Fuss Chili con Carne


There’s nothing quite like a hearty bowl of chili to warm you from the inside out. When the craving hits for something profoundly satisfying, incredibly easy, and bursting with flavor, this one-pot, no-fuss, chili recipe is exactly what you need. Forget complicated culinary endeavors; this dish is designed for those busy weeknights or cozy weekends when you want maximum taste with minimal fuss.
Now, let’s clear up a common misconception: while incredibly delicious, this classic chili recipe is distinctly Tex-Mex, not to be confused with traditional Mexican cuisine. The distinction is important, especially when you consider common ingredients. Recipes heavy on corn, and particularly cumin, often point to a Tex-Mex origin rather than a Mexican one. Authentic Mexican cuisine, while it uses a wide array of spices and chiles, tends to rely on different flavor profiles, with cumin being much less prominent. Similarly, ground beef, a staple in many Tex-Mex dishes like this chili, is not widely used in traditional Mexican cooking, which favors cuts of beef prepared differently (like carne asada), pork, chicken, or seafood.
This recipe embraces the bold, robust flavors of the American Southwest, featuring a wonderful blend of spices, tomatoes, and beans. It’s a beloved staple for a reason – it’s hearty, adaptable, and consistently delivers on its promise of deliciousness. Get ready to stir up a pot of pure comfort that will undoubtedly become a regular in your kitchen rotation.
My Amazon Store
Check out my Amazon Storefront for all my favorite kitchen products.
Chili con Carne
Ingredients
- 1 kg ground beef
- 250 g bell peppers About 2-3 peppers. Can be red or green mix
- 130 g onion 1 large onion
- 5 garlic cloves
- 500 ml water or stock
- 2 cans diced tomatoes 400 ml cans
- 2 cans kidney beans
- 1 can black beans
- 1 small can corn optional - see notes
Spices & Seasoning
- 1 tsp sweet paprika
- 1 tsp smoked paprika
- 2 tsp cumin seeds ground on a mortar and pestle
- 2 tsp oregano
- 2 tsp chili powder Or to desired spiciness
- 2 tsp smoked chili powder Optional. If you don't have this, just add more regular chili powder until you reach your desired spiciness.
- 1 tsp thyme
- 2 tsp salt to taste
- 1 tsp white sugar
- 2 bay leaves
Garnish
- Sour Cream
- Chopped Cilantro
- Squeeze of Lime
- Chili flakes or fresh jalapeño
Instructions
- Prep aromatics: Dice your onions and bell peppers.
- Sauté veggies: In a large pot or Dutch oven, heat olive oil over medium-high heat. Add the diced onions and bell peppers and sauté until fragrant and translucent, about 5-7 minutes.
- Add garlic & meat: Stir in the chopped garlic and cook for 2 minutes until aromatic. Add your ground meat and break it up with a spoon.
- Brown meat & season: Incorporate the meat with the sautéed vegetables. Add all your spices (except white sugar and bay leaves). If the meat starts to stick, add a splash of water to deglaze the pan. Cook until the meat is fully browned.
- Simmer the chili: Stir in the canned tomatoes, stock, bay leaves, and sugar. Mix well, cover, and bring to a gentle simmer over low heat for 25 minutes. After 5 minutes, taste and adjust salt and spices as needed for your perfect homemade chili.
- Add beans & corn: After 25 minutes, stir in your beans and corn (if using).
- Continue simmering: Simmer for another 20 minutes on low heat. For a thicker consistency for your easy chili recipe, leave the lid off during this stage.
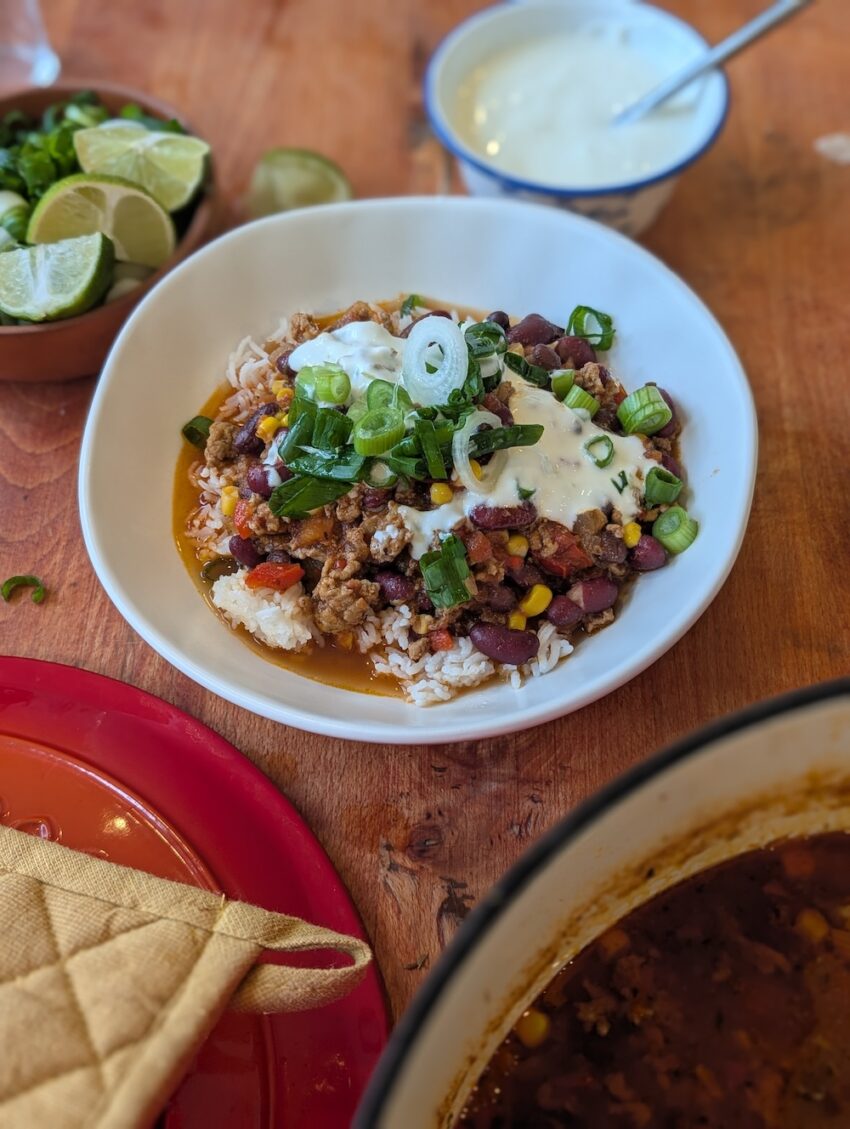
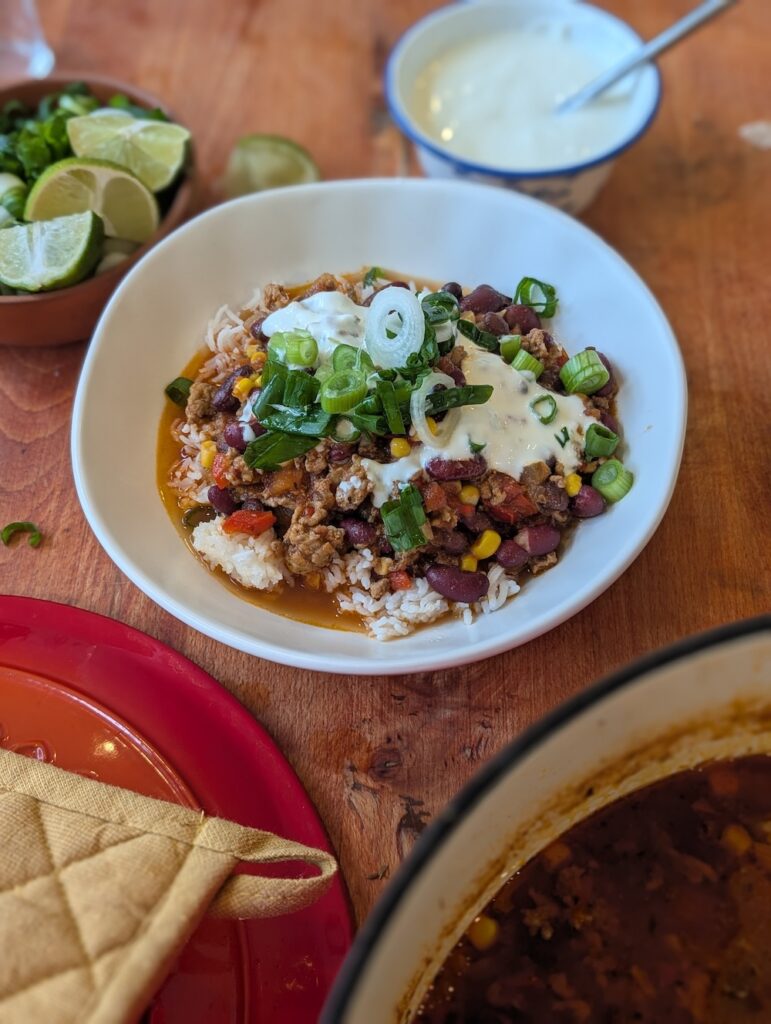
- Rest & serve: Turn off the heat and let the chili rest in the pot for 15 minutes. Serve warm over rice and garnish with sour cream, fresh spring onions, and a squeeze of lime juice for the best chili experience! Enjoy!
Notes
- Bean Variations: Feel free to customize the type and amount of beans. Use a mix, or stick to just black beans or kidney beans.
- Sweetness Factor: Sweet corn adds a touch of sweetness. Adjust to your preference – sometimes a savory and spicy chili is preferred, other times a hint of sweetness is welcome.
- Decadent Addition: For extra richness, cook diced bacon with the onions and bell peppers at the beginning of the recipe


Leave a Reply